
We are quickly approaching the holiday season, so before the craziness hits you may want to consider taking some time for yourself and getting a picture perfect smile for all those family photos. Everyone wants whiter teeth, but with that often comes high prices and tooth sensitivity. I recently had the opportunity to partner with Smile Brilliant to try their innovative at-home professional grade teeth whitening system. And let me tell you…it’s a game changer.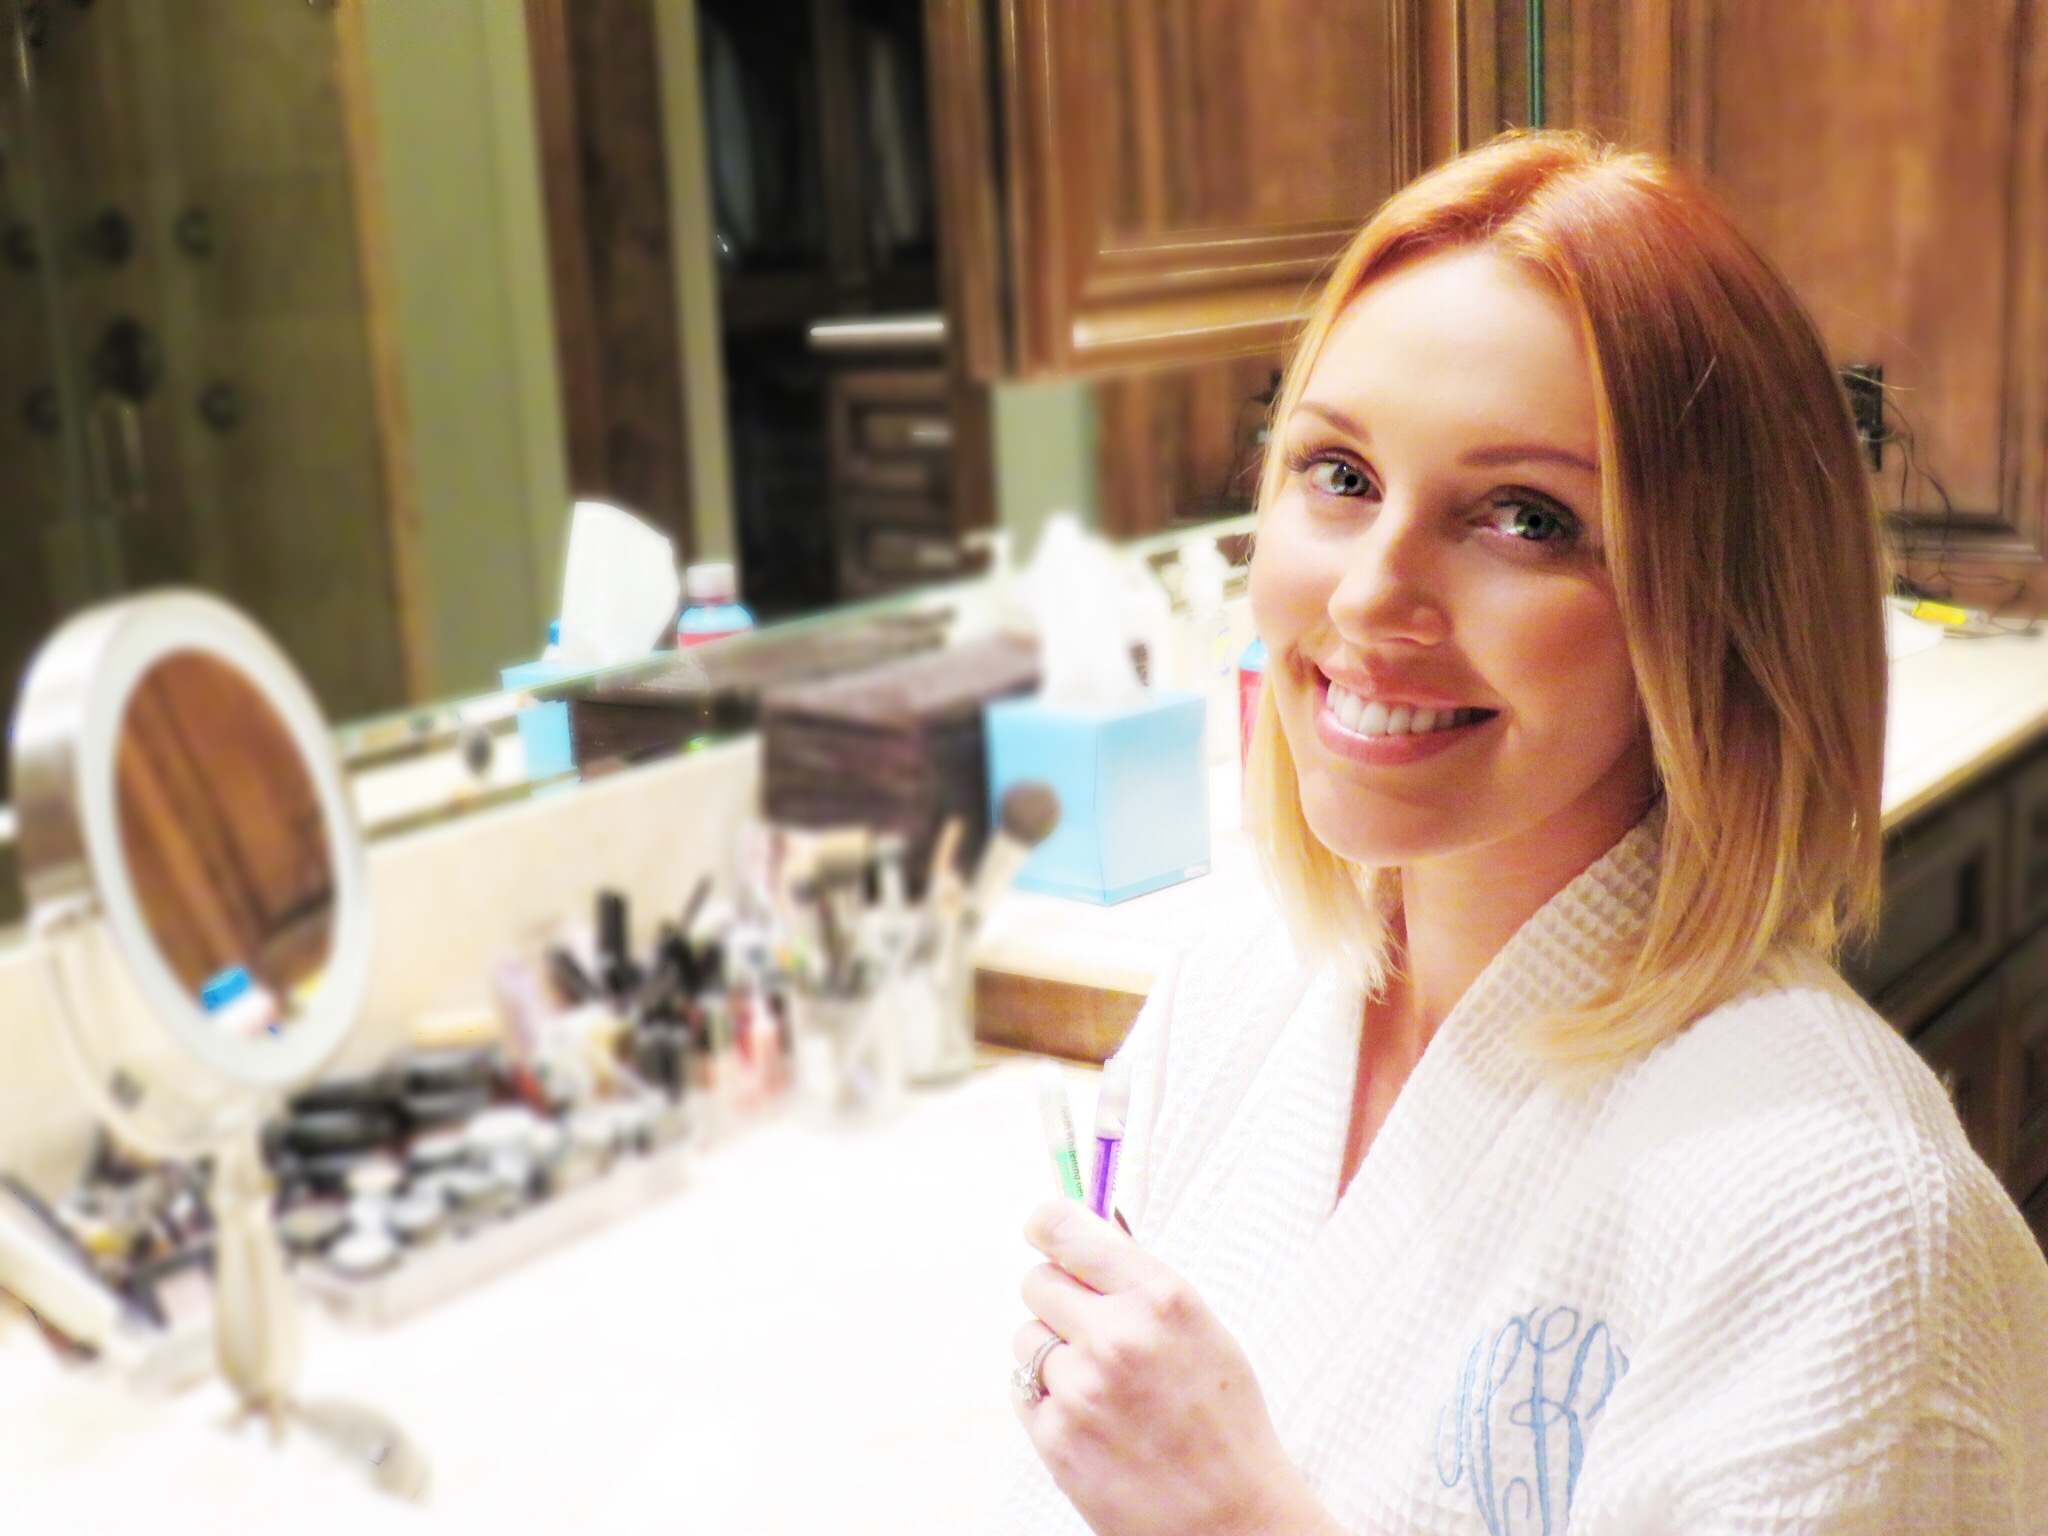 I had my teeth professionally whitened at my dentist’s office before my wedding a year and a half ago. My dentist was very honest with me and said that, fortunately, I have naturally white teeth and that I will likely not see drastic results. I decided to give it a try anyway and paid over $500 for professional whitening. I did see slight results but with that also came tooth sensitivity and discomfort. A significant decrease in cost, professional grade whitening in the luxury of your home, and relief from sensitivity are a few of the reasons I’m hooked.
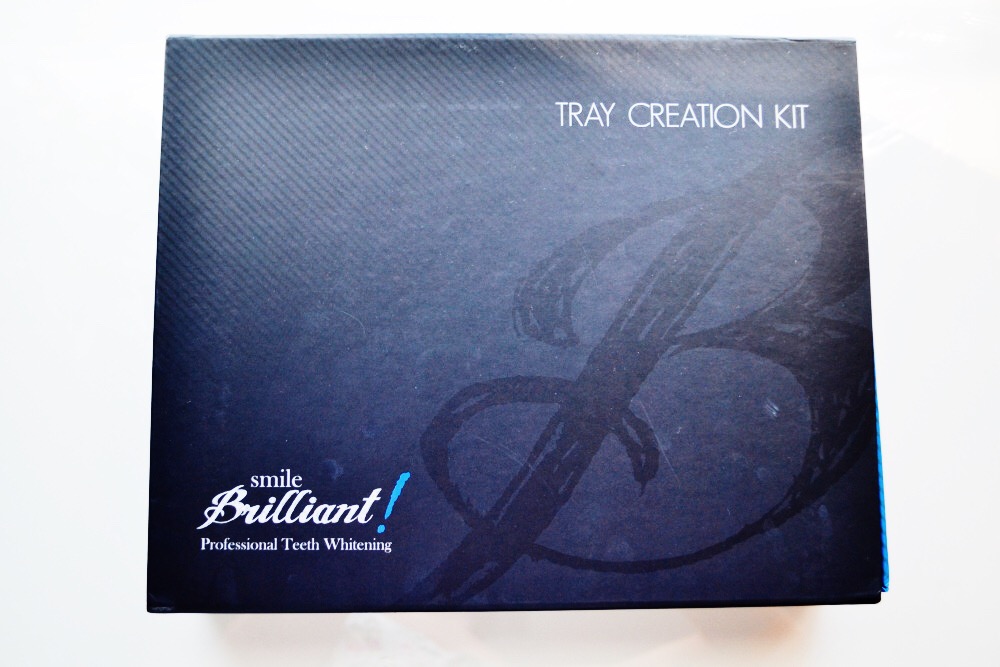
Once you decide to move forward and try Smile Brilliant, you will receive a box with instructions and supplies. The first step is creating your impressions.
 2) Smile Brilliant makes it very easy for you to create your impressions by giving clear instructions. I was nervous when I first started to make mine because I was afraid I was going to mess up. Don’t worry, they thought ahead and provide you with an extra set of pastes in case you do mess up!
 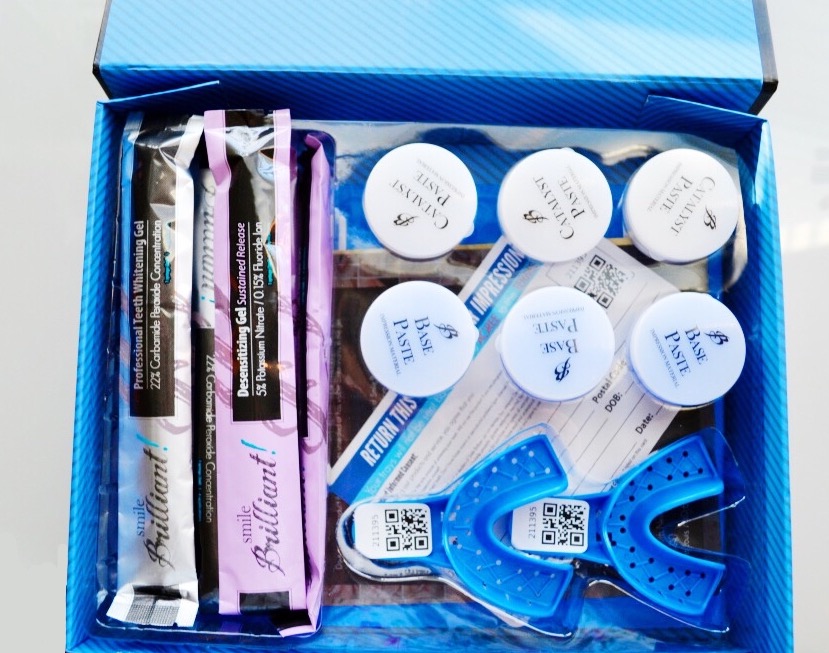 3) Once you have created your impressions, you mail them back worry-free in the prepaid envelope provided in your kit. It takes 10-14 to receive your custom fitted whitening trays.
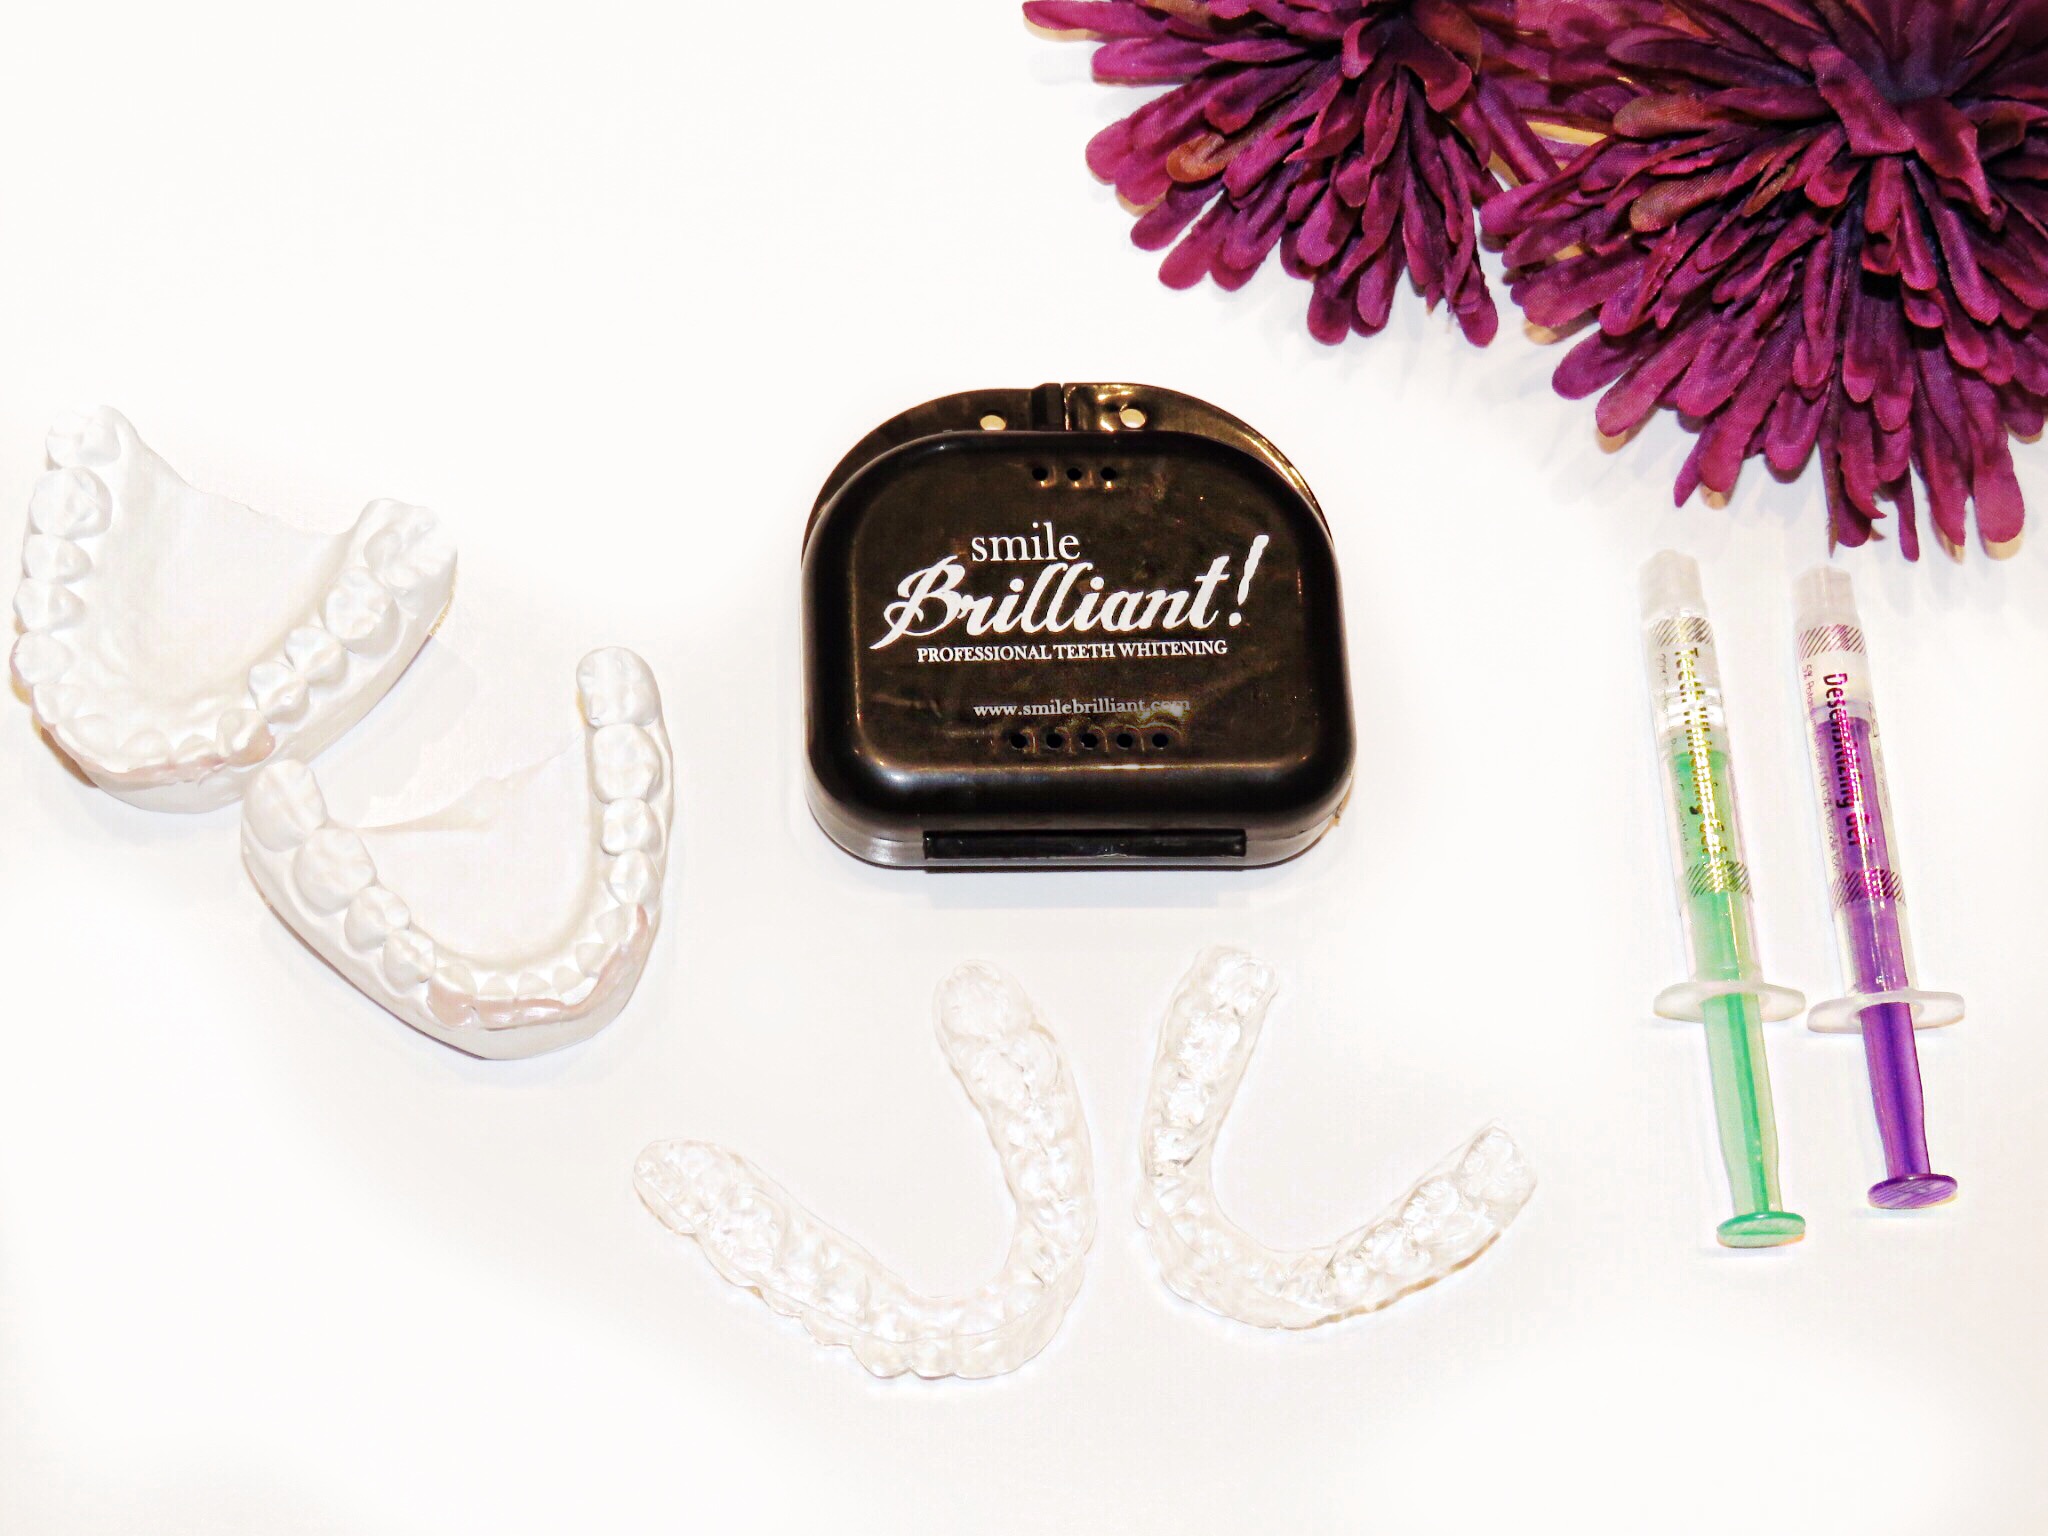 4) Now that the tray’s are ready, we can start the fun part! My favorite part of the Smile Brilliant system is that they offer a desensitizing gel to help with sensitivity. If you have sensitivity (or are unsure), I would suggest using it. I promise it will make this process much more enjoyable!
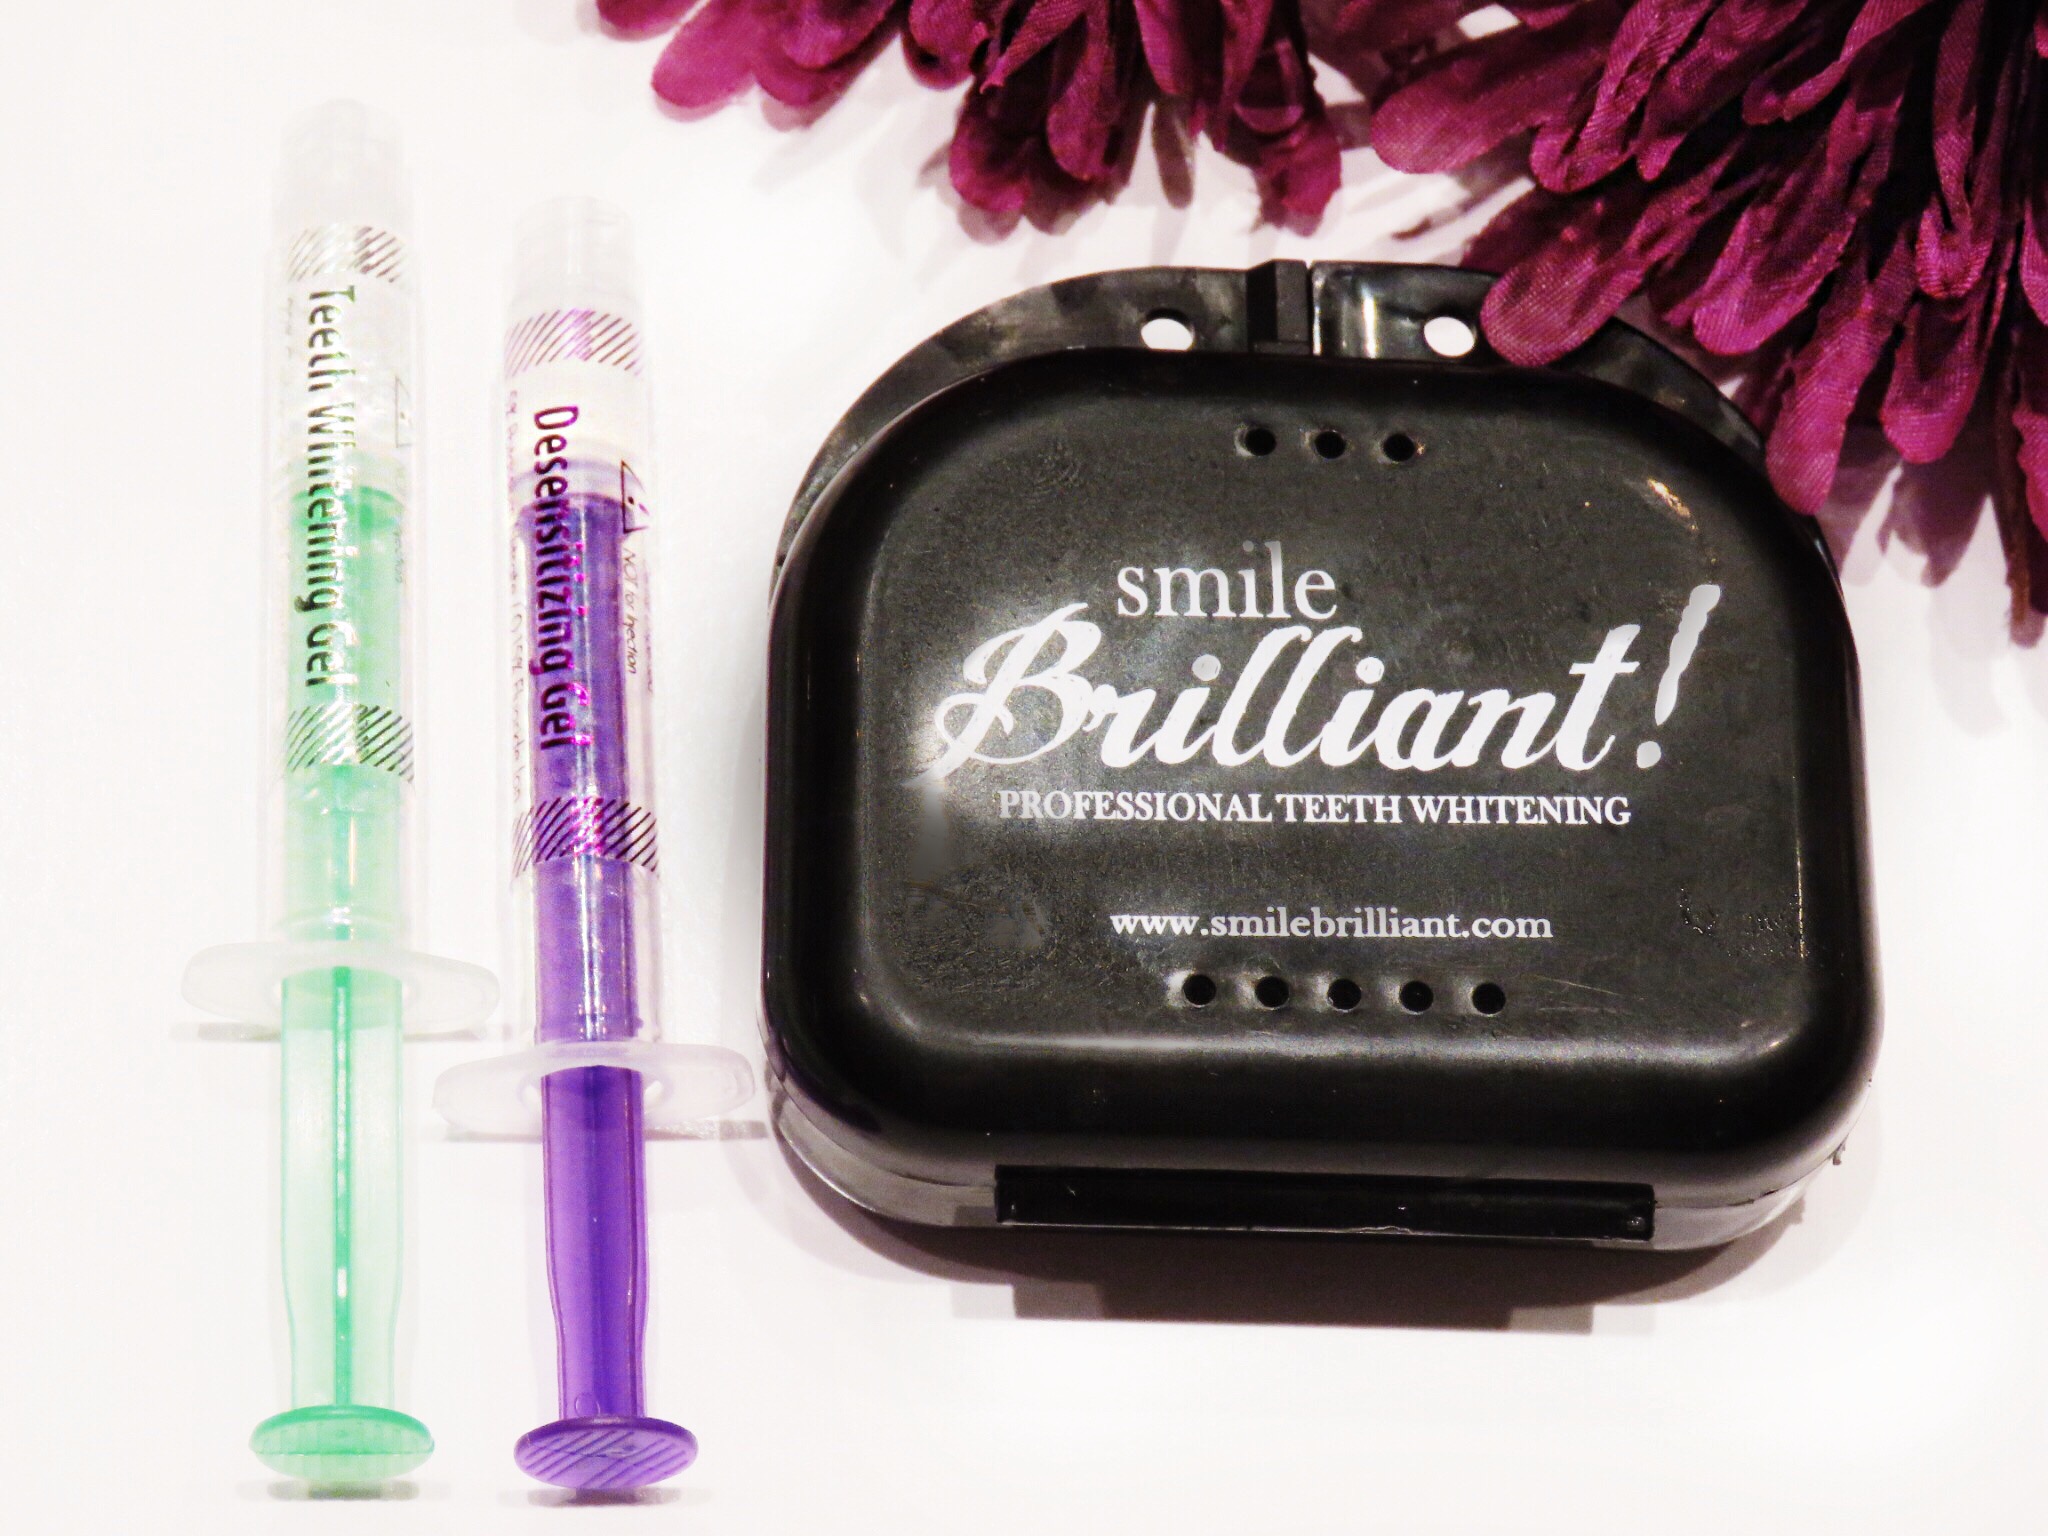 5) Line the front of the trays with the desensitizing gel and leave on for 15 minutes. Remove the trays and rinse them out but do not rinse your mouth (if you do not need the desensitizing gel you can skip this step). Next, line the front of the trays with the whitening gel and let sit for one hour. I continued this process for 10 days, and I can definitely tell that surface stains have been removed and my teeth are 1-2 shades lighter.
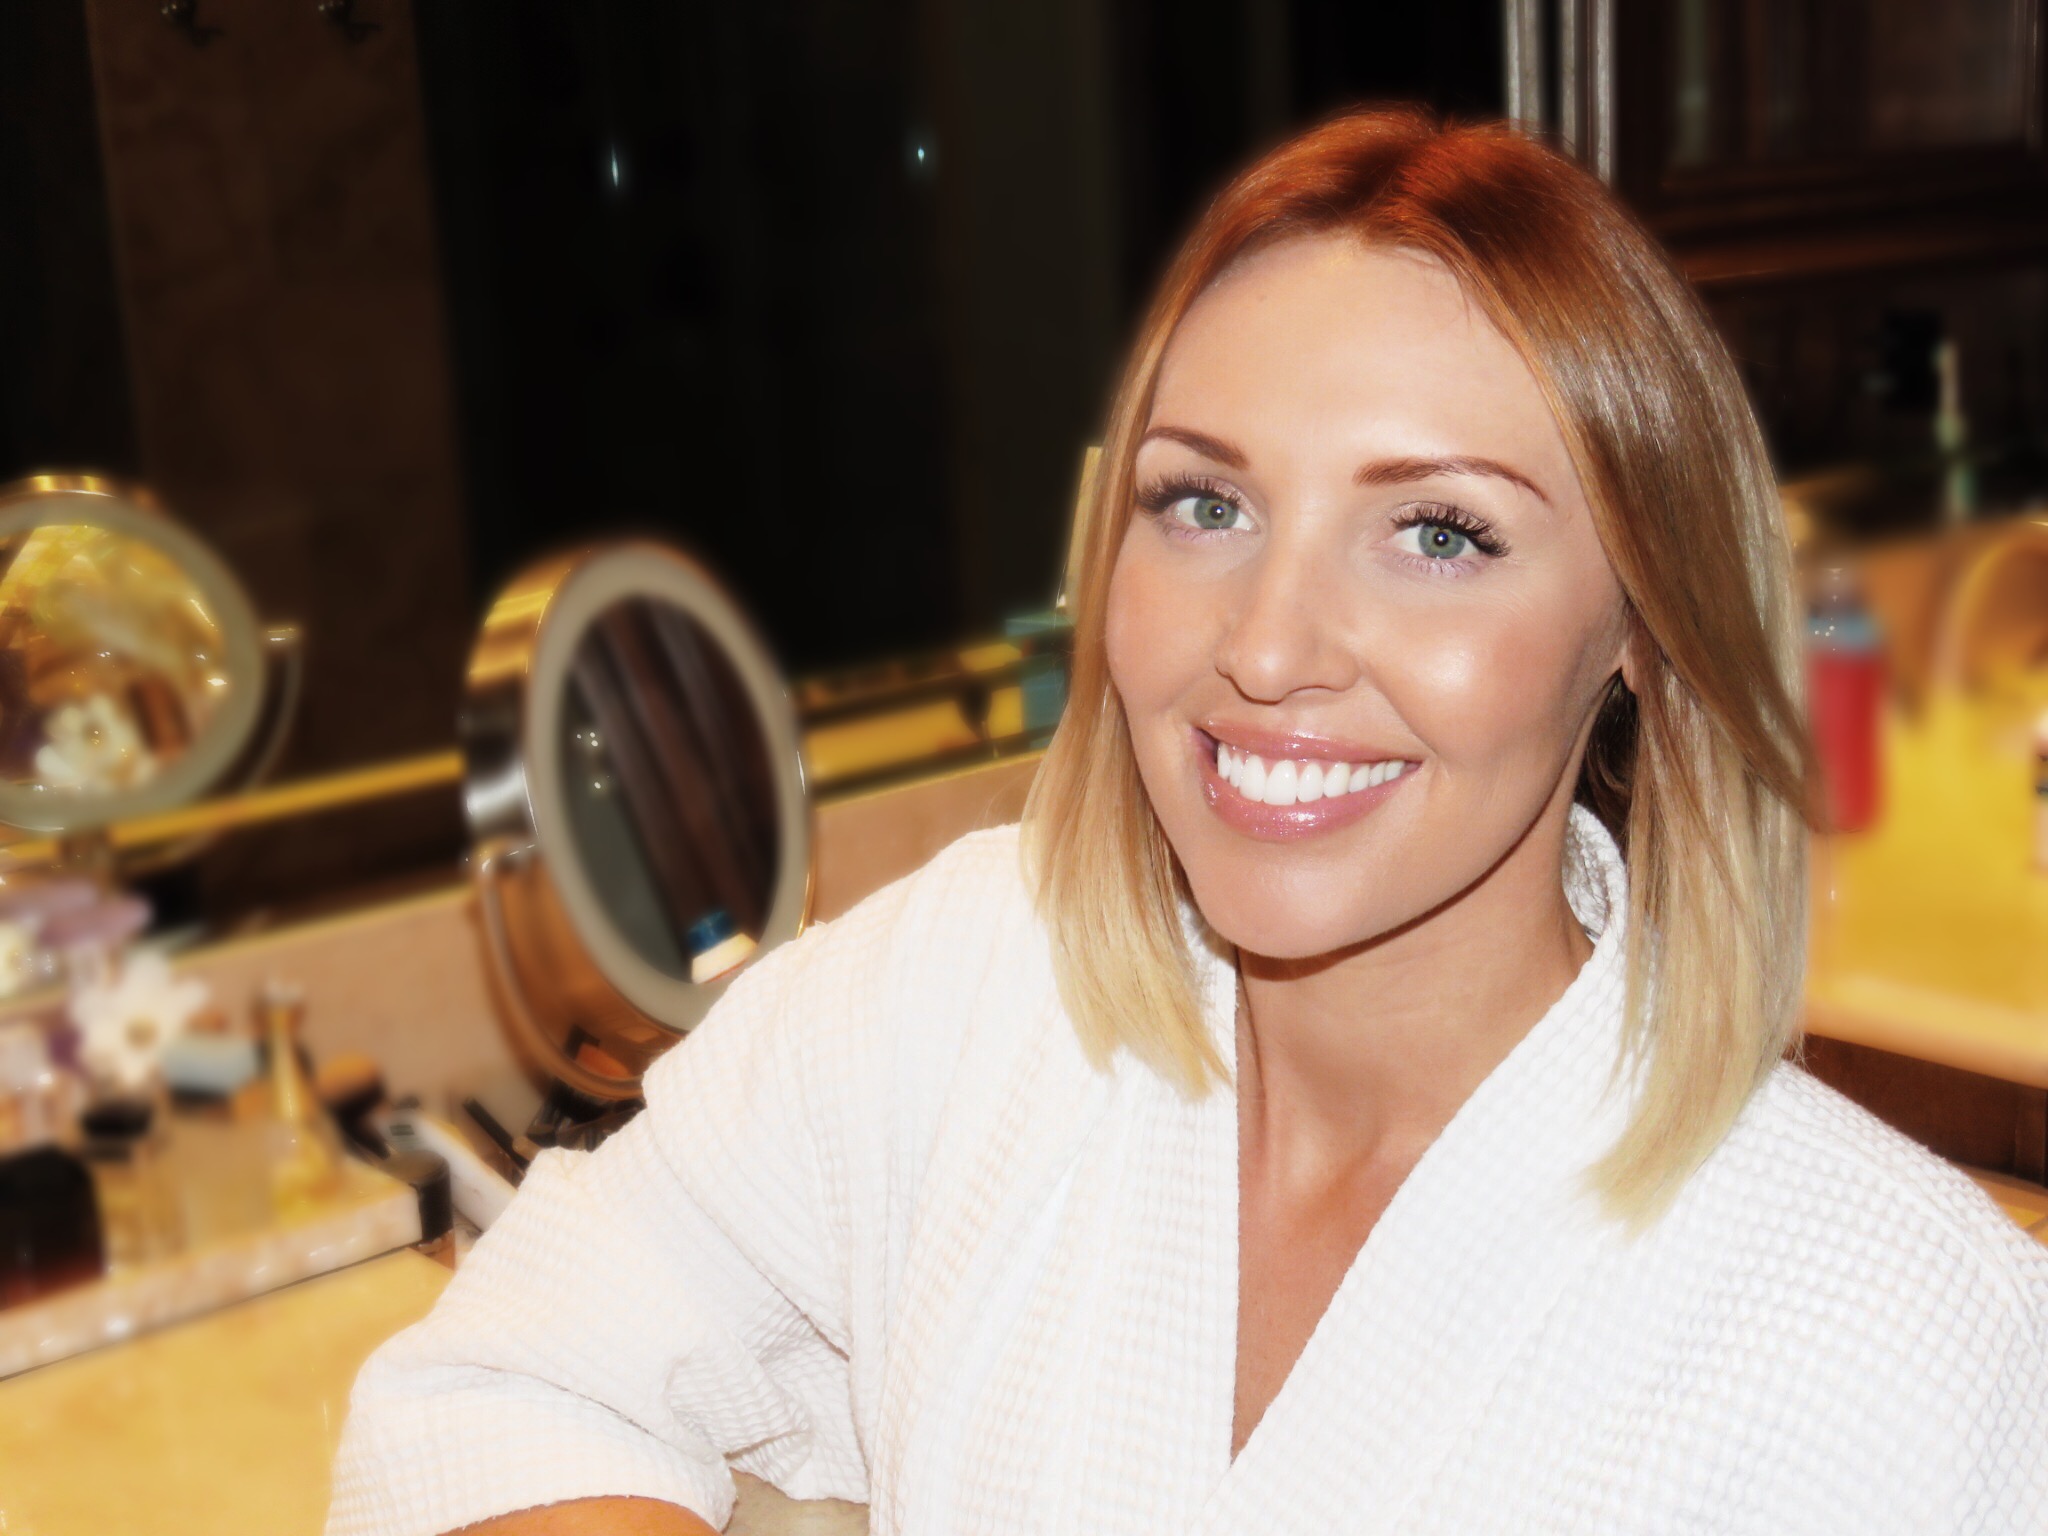
Please note-everyone’s teeth and stains vary. One thing I love most about Smile Brilliant is that you can whiten for longer if you have darker staining or for less if you have light staining. The process really caters to each individual’s needs.
Last but not least, this at home whitening kit is super affordable! The original price for a set of custom fitted trays + three whitening syringes is $179.95, but you can save $60.00 by purchasing through Nat King Couture. (*If needed, the desensitizing gel is an additional $19.95 for three syringes).
Still not sure? Click here for additional demos and reviews.

*This review is based 100% on my own thoughts and opinions
Disclosure–This post contains affiliate links. Purchasing through them will help support this blog.